51+ Sample Receipts
-
Editable Payment Receipt Template
download now -
Medical Bill Receipt Template
download now -
Confirmation of Receipt of Payment Letter Template
download now -
General Cash Receipt Template
download now -
Walmart Store Receipt
download now -
Grocery Cash Receipt Form
download now -
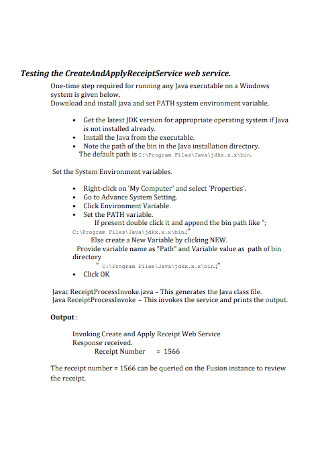
Restaurant Receipt Service Web Service
download now -
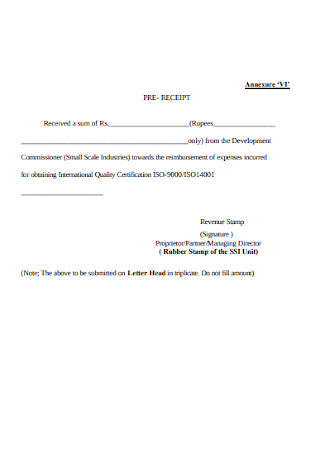
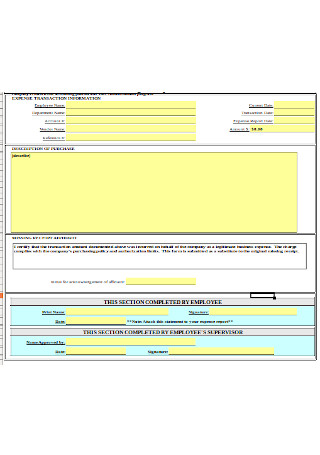
Recent Expensive Pre Receipt
download now -
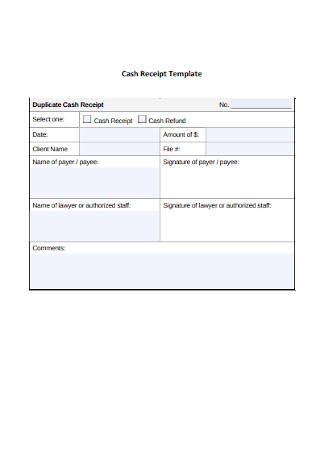
Blank Cash Receipt
download now -
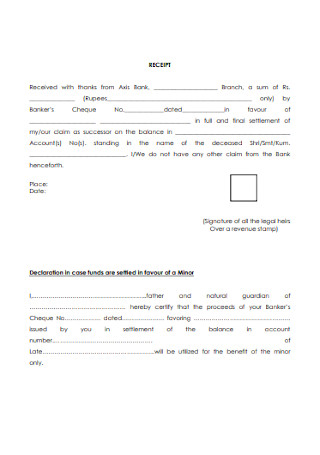
Bank Scan Receipt
download now -
Exam Invoice Receipt
download now -
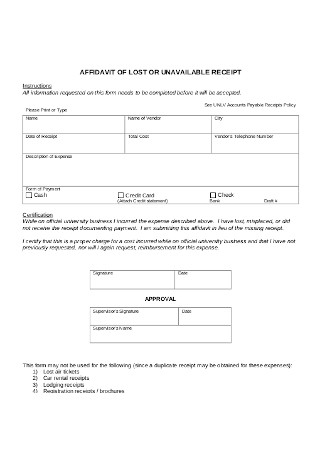
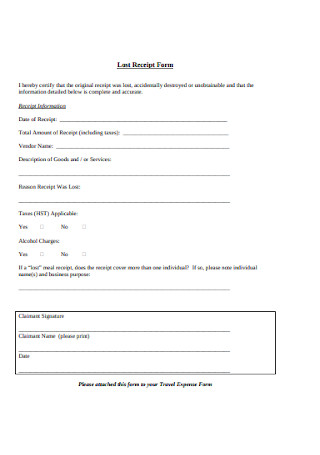
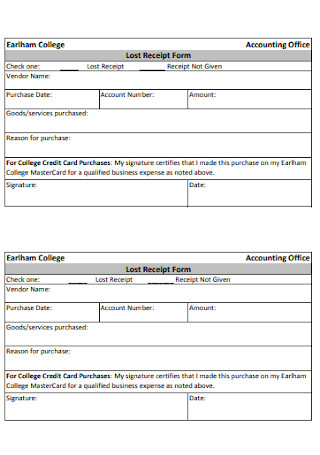
Lost Receipt Template
download now -
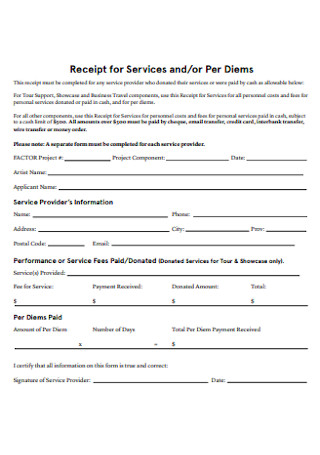
Food Receipt for Services
download now -
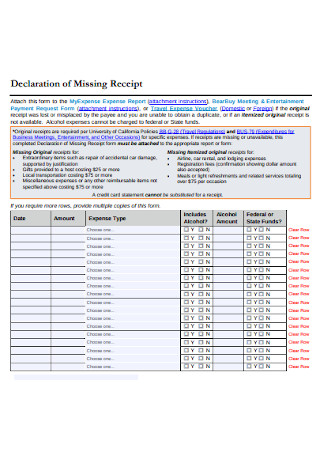
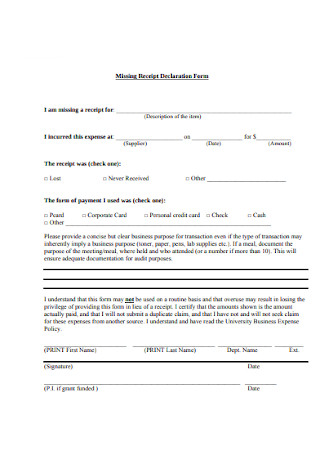
Missing Receipt Declaration
download now -
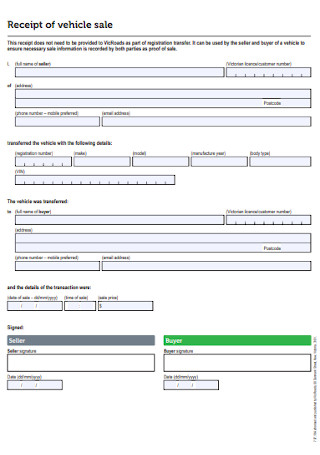
Vehicle Purchase Receipt
download now -
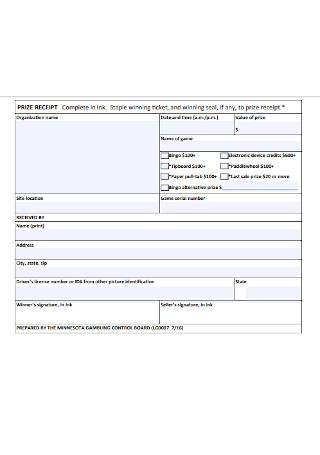
New Prize Receipt
download now -
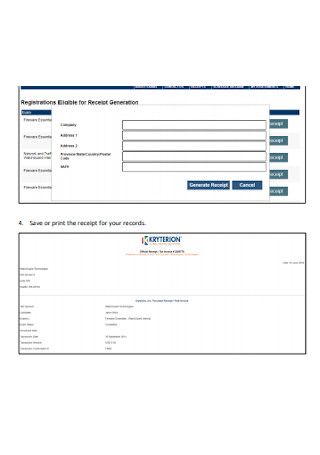
Receipt Information
download now -
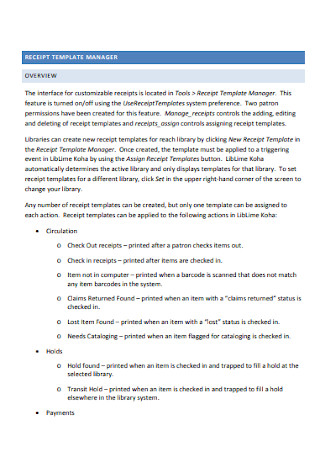
Receipt Template Manager
download now -
Itemized Receipt Declaration Form
download now -
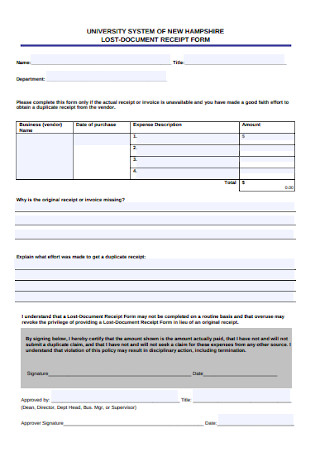
Lost Document Receipt Form
download now -
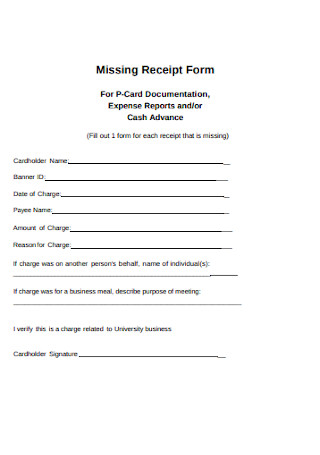
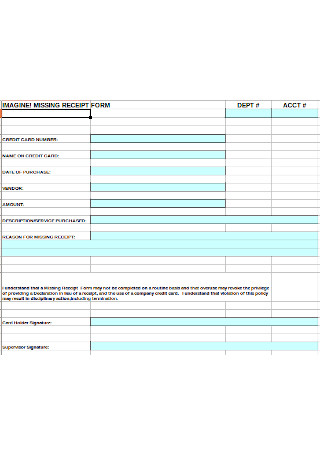
Sample Missing Receipt Form
download now -
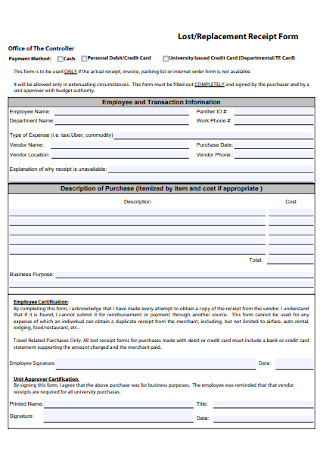
Replacement Receipt Form
download now -
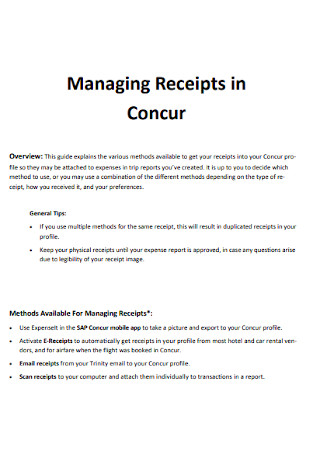
Managing Receipts in Concur
download now -
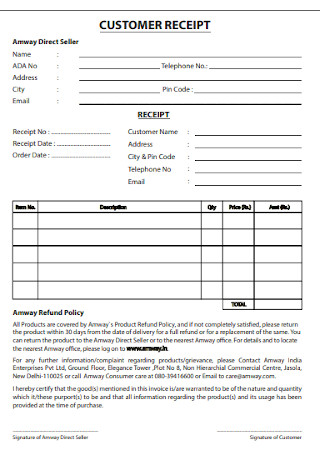
Hotel Customer Receipt
download now -
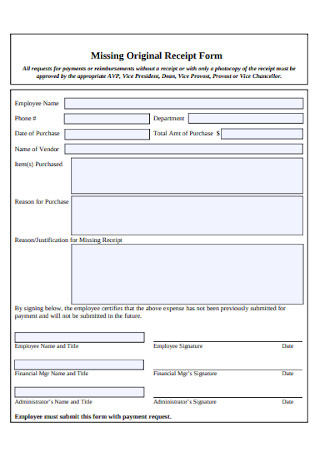
Missing Original Receipt Form
download now -

Receipt Statement
download now -
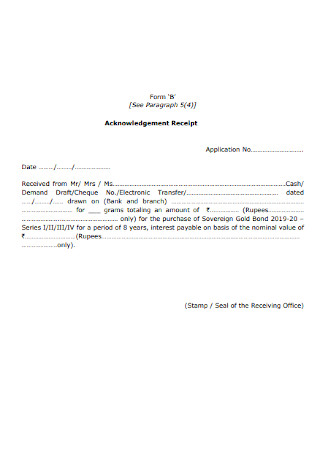
Sample Acknowledgement Receipt
download now -
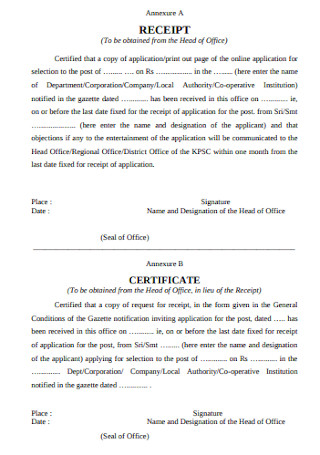
Receipt and Certificate Template
download now -
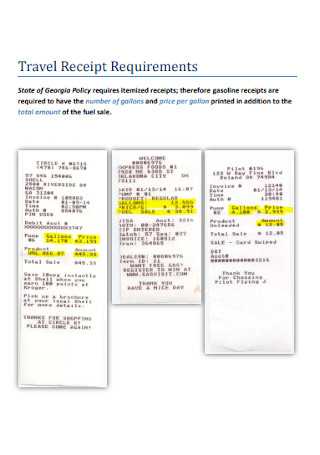
Travel Receipt Requirements
download now -
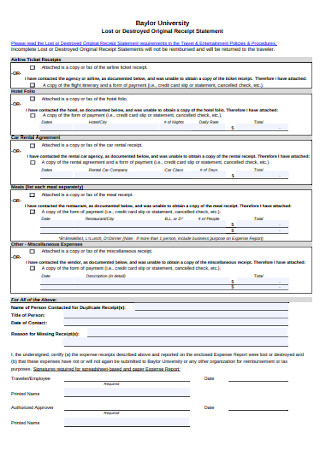
Destroyed Original Receipt Statement
download now -
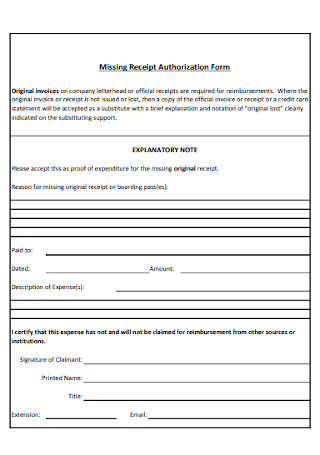
Missing Receipt Authorization Form
download now -
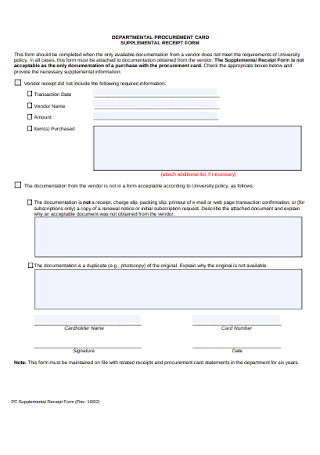
Supplemental Receipt Form
download now -
Sample Receipt Form
download now -
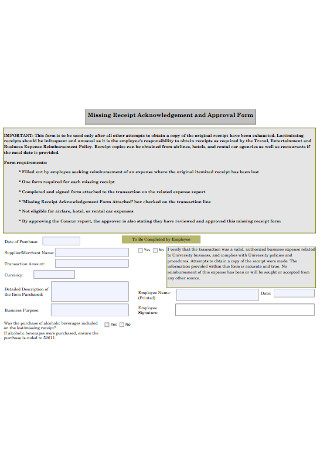
Missing Receipt Approval Form
download now -
Standard Lost Receipt Form
download now -
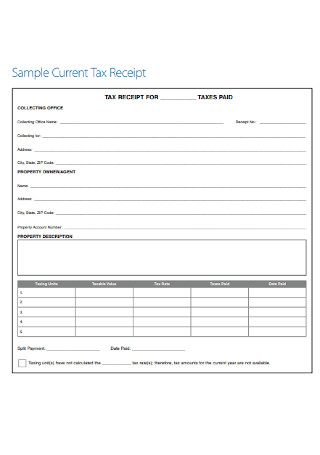
Current Tax Receipt
download now -
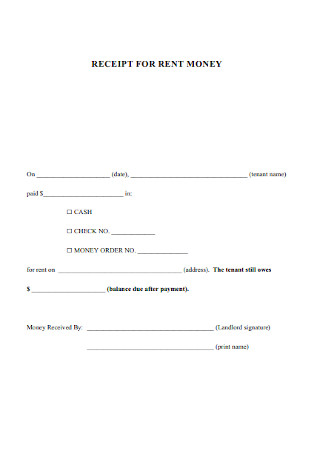
Rent Money Receipt
download now -
Discharge Receipt
download now -
Receipt Affidavit
download now -
Compensation Paid Receipt
download now -
Project Receipt Form
download now -
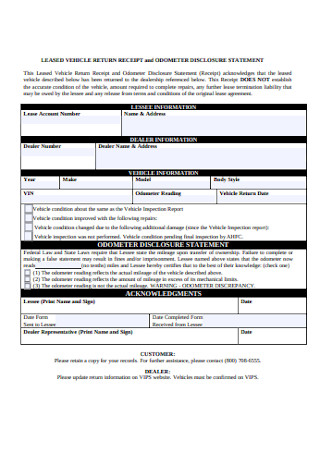
Vehicle Return Receipt
download now -
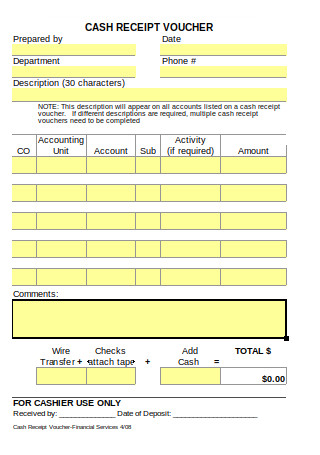
Cash Receipt Voucher
download now -
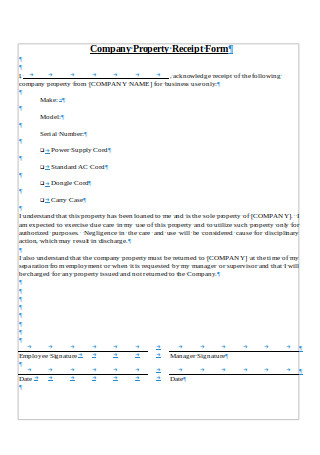
Company Property Receipt Form
download now -
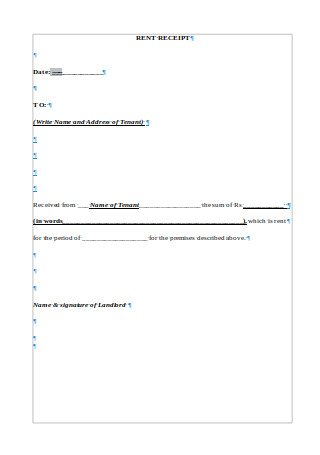
Sample Rent Receipt Template
download now -
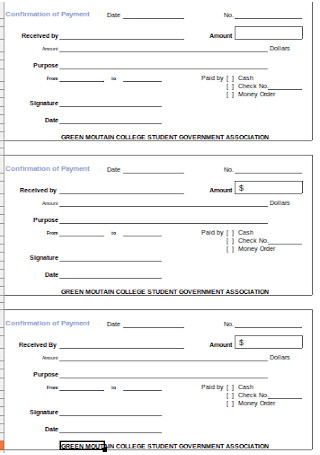
Payment Confirmation Receipt Template
download now -
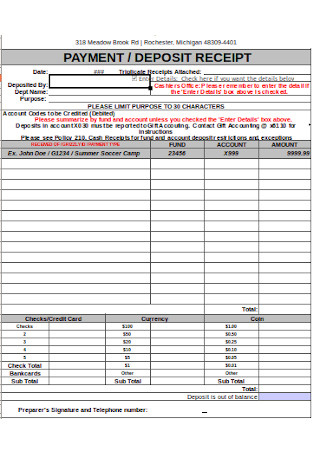
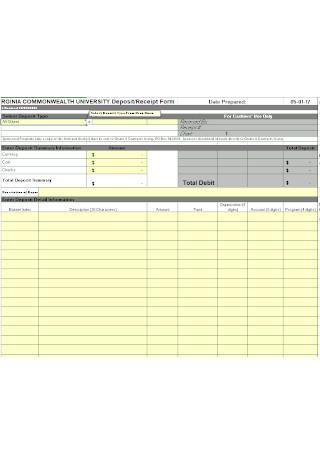
Deposit Receipt
download now -
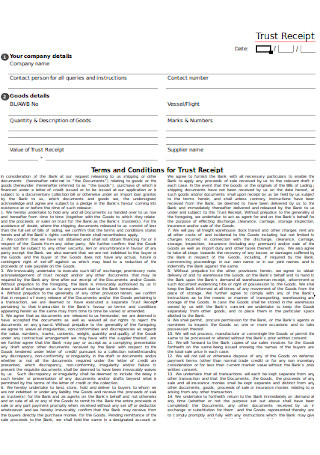
Trust Receipt
download now -
Sample Receipt Template
download now -
Basic Sales Receipt
download now -
Formal Receipt Statement
download now -
Standard Security Deposite Form Template
download now
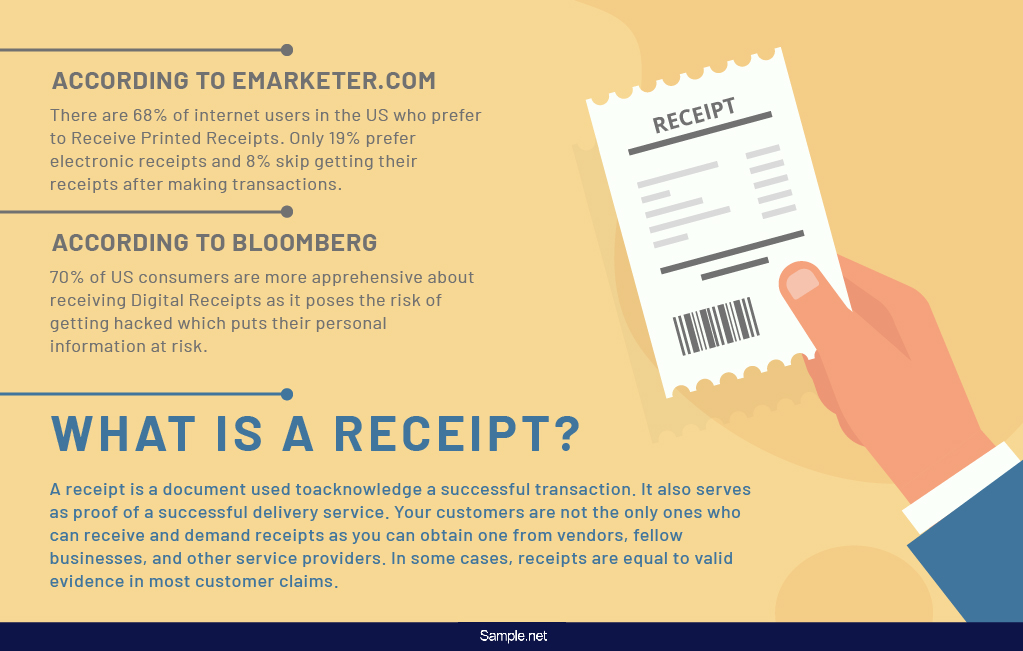
What Is a Receipt?
A receipt is a document used to acknowledge a successful transaction. It also serves as proof of a successful delivery service. A receipt should contain the vital transaction details such as the description of the items bought, the date of purchase, additional taxes, the total amount due, payment details, and so on. Your customers are not the only ones who can receive and demand receipts as you can obtain one from vendors, fellow businesses, and other service providers. In some cases, receipts are equal to valid evidence in most customer claims. In instances wherein a customer would like to replace or return items, they should always present a receipt that shows the extent of its validity.
Importance of Receipts
Receipts are more than a small sheet of paper that lists the items you have purchased from a store. If the customer requests to return or exchange a defective product or shows dissatisfaction with the product that they bought, the receipt will play an essential role in its replacement, especially if the customer complied with the return and exchange policies of the store. Local laws also require businesses to always issue receipts for every transaction made. Receipts also serve as proof of ownership of a customer that, in the event when they go out from the store after having bought an item, they can show the receipt to show that they have indeed purchased the item. Receipts also play a role in keeping the sales and expenses report of a store up to date.
Difference Between Receipts and Invoices
Surprisingly, there are still a lot of business entities that have no idea about the stark differences between receipts and invoices. There are still several people who would always treat these two different documents as synonymous. The said documents may look similar, but its differences are evident in its functions. The most significant difference between the two is that you give out receipts after the customers hand their payment, while you issue business invoices before the customers settle their due payment. Receipts are documentation and confirmation of completed transactions, while invoices are instruments that you use to request or demand payment from a client or customer. Receipts indicate the total amount paid by the customer, while invoices show the total payable amount.
Elements of a Receipt
To create a receipt that is indeed a written acknowledgment of a successful transaction, you need to know what makes up one. Make sure to incorporate these elements into your receipt.
How to Create a Receipt
If you run a business, you must not just issue receipts just because local laws require it?you also need to know what it takes to create one. With such knowledge, you would understand what makes up one and why it has to be in the very receipt you’ve been handing to your customers. This is especially important as a recent survey revealed that there are 68% of internet users in the US who prefer to receive printed receipts. The study also showed that only 19% prefer electronic receipts and 8% skip getting their receipts after making transactions. In addition to that, Bloomberg reports that 70% of US consumers are more apprehensive about receiving digital receipts as it poses the risk of getting hacked which puts their personal information at risk. That said, we give you a step-by-step guide that can help you come up with your receipt that you can proudly hand to your customers after every successful transaction.
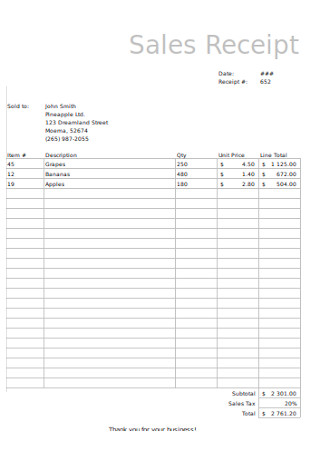
Step 1: Lay Out Your Business Details
If you take a look at a sample receipt, you will notice that its topmost part consists of the business details. So, for the first step of making your business receipt, you need to determine what goes into your business details or your store information. This part should contain your store name, store and/or office address, contact numbers, and website or social media links. You may also include any important numbers such as your registration number. You must secure this information before anything else as it is not only the first part of your receipt but this also serves as a way for people to identify your business. Other than that, it also provides the details that your customers can get in touch with you.
Step 2: Provide Space for Date and Time of Purchase and Receipt Number
This section is important for both the business and its consumers. On the business’ end, this element is essential when making financial statements and other necessary sales-related reports. Without receipts, people will question the accuracy and credibility of your statements and reports. Also, it will be quite challenging to determine and comprehend the performance of the business without receipts. On the customer’s end, this section helps them prove their claims and guarantee any replacement and return requests. Do not forget to label your receipt with a receipt number.
Step 3: Incorporate the Elements and Format Row and Columns
To prepare for the body of your receipt that contains the details of the transaction, be sure to format the rows and columns. When you format it, do so according to the elements you were planning to incorporate in your receipt. For this part, it often contains the number of items bought, details about the items purchased, and the unit price. The same elements serve as the header indicated in the columns. Keep in mind that a receipt has limited space, so be sure to include only a limited number of columns. You have the option to have a border within your columns and rows, but you can also do without it.
Step 4: Follow the Subtotal, Additional Charges, and Grand Total
Provide a space right below the columns and rows where you can input the subtotal, additional charges, and total. Derive the subtotal by multiplying the unit price of the item by the number of the items bought. Before you arrive at the total amount payable, you need to consider adding an ample space where you can indicate the additional charges. Additional charges include the sales tax, service fees, and so on. Add the extra charges to the subtotal to get the total amount that indicates how much the customer should be paying for the transaction. You can also include here the total number of items purchased.
Step 5: Indicate the Mode of Payment, Amount Tendered, and Change
The customer has the option to pay in cash or check. They also have the option to swipe their debit and credit cards. Be sure to indicate their preferred mode of payment in the receipt. Follow it with spaces that show how much money the customer has placed. And, of course, do not forget to include the change, if any.
Step 6: End Your Receipt with Additional Details
While you can end your receipt with the total, you may still want to incorporate additional details regarding the transaction. It can include the number of the register and the name of the cashier. You can even add a blank space where the customer can write down their name, address, and signature. This part can consist of a short parting message to your customer which often goes “Thank you for shopping with us” or “Please come again.” Keep in mind that this step and its contents are optional and you can still create a sufficient and valid receipt without it.
Step 7: Proofread and Finalize the Contents of Your Receipt
Before printing your receipt, you need to proofread every single element you have incorporated in your receipt design. See to it that you had prioritized the necessary receipt elements before you gave way to the discretionary ones. Be sure to check the spelling and the proper placement of the items within your receipt.
Dos and Don’ts of Receipts
In order to create a receipt for your own business, there are some things that you need to consider. Below are some useful tips that can help you make an effective receipt design of your own.
Dos
1. Do know the best orientation to use.
Know that when it comes to designing the format of the receipt, there is no such thing as a wrong orientation. What you should focus on is the best orientation the fits your business needs. There are some things that you need to consider first before deciding on an orientation to use. If you opt for a horizontal or landscape orientation, it is best if the contents of the receipt come in bulk and that you have more texts. If you choose a vertical or portrait orientation, it is best if your receipt only has limited items or the items are shortened or abbreviated.
2. Do give priority to negative or white space
Receipts are formal Important business documents. And what do you notice about business documents? It looks clean and organized, right? That is because such type of materials prioritizes negative or white spaces. If you want to achieve a receipt that is indeed business-like and something you can proudly present to others, it is ideal that you also make room for negative spaces in your receipt design. It is in this way that you ensure that your receipt design will not look overwhelming to the eyes when your customers or fellow business establishments are reading it.
Don’ts
1. Don’t incorporate text elements you can do fine without.
If you don’t see the need to include optional text elements such as a thank you note, a greeting, or a full business branding statement within your receipt’s design, then don’t. You must keep the number of text elements in your receipt to a minimum so as not to cover up the essential parts. Such elements include business details and transaction details. Anything more than that is already unnecessary. You should think twice about incorporating it in your business receipt.
2. Don’t include any other image aside from your business logo.
A receipt is not a movie poster, a fancy flyer, or an informative brochure wherein you would need images as much as you can. As mentioned, it is a formal business document and this should only mean that you need to present it appropriately. Also, it is essential to note that receipts already come in small sizes. Why would you still need to include unnecessary images? The only acceptable image is your business logo. Other than that is already wholly useless. You don’t even need to add a background image for that manner.
You have to keep in mind that a receipt has no standard layout and format. However, knowing the basics can help you come up with your receipt that will serve as a standard throughout your business. If you are now about to make a receipt for your own business, make sure you use any of our receipt templates to help you get started. You may also download the receipt examples uploaded here that can serve as your inspiration as you make a receipt.