50+ Sample Receipt Form Templates
-
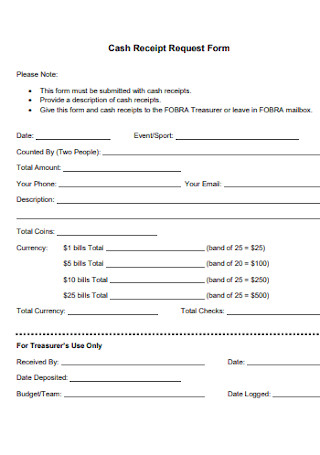
Cash Receipt Request Form
download now -
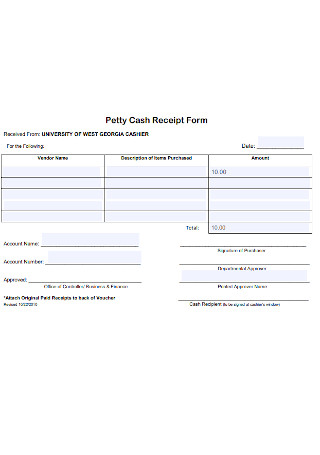
Petty Cash Receipt Form
download now -
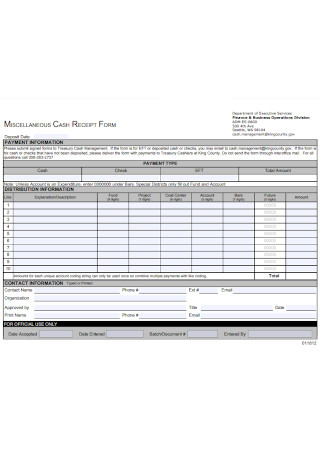
Miscellaneous Cash Receipt Form
download now -
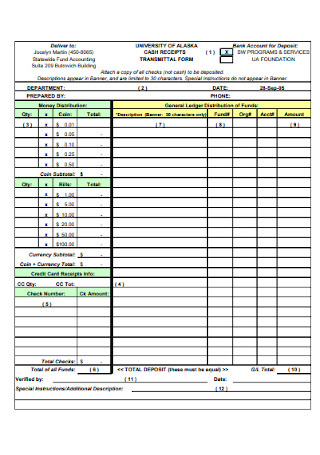
Cash Receipt Transmittal Form
download now -
Cash Receipt Log Form
download now -
Academy Cash Receipt Form
download now -
Transmittal Receipt Form
download now -
Participant Receipt Form
download now -
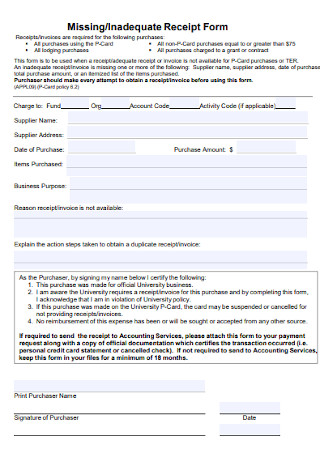
Inadequate Receipt Form
download now -
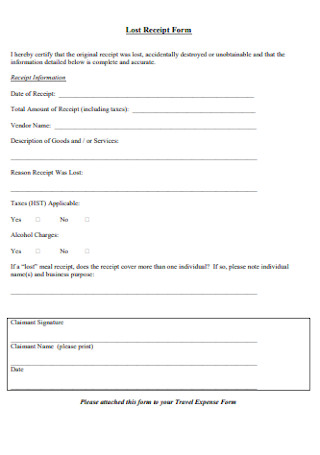
Lost Receipt Form
download now -
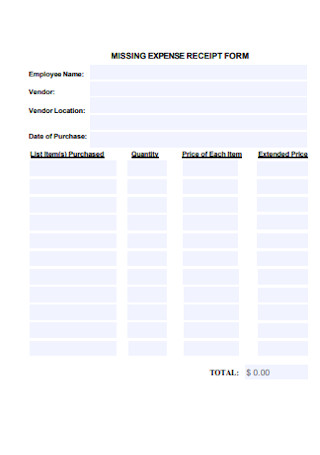
Missing Expense Receipt Form
download now -
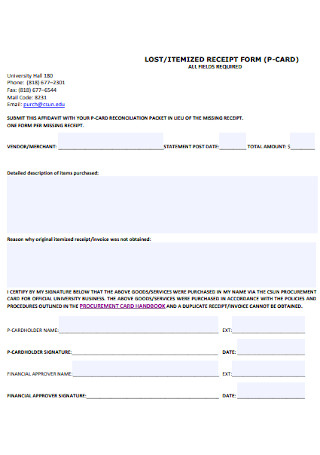
Itemized Receipt Form
download now -
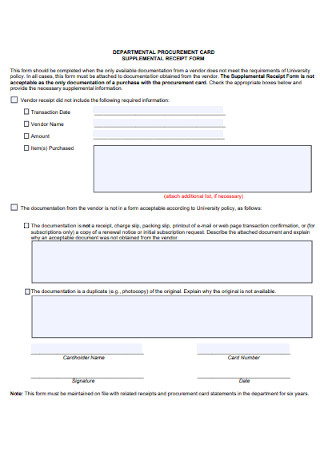
Supplemental Receipt Form
download now -
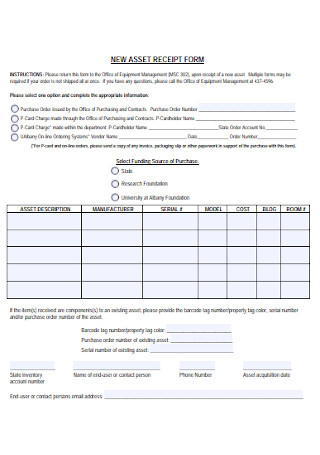
New Assest Receipt Form
download now -
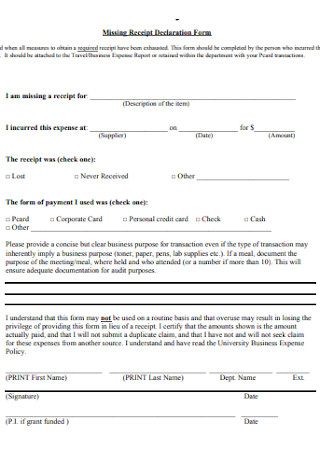
Missing Receipt Declaration Form
download now -
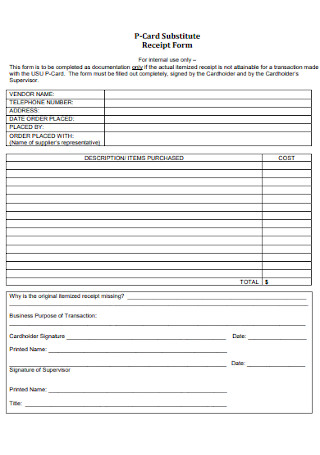
Card Substitute Receipt Form
download now -
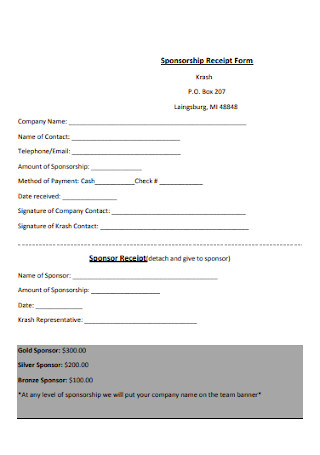
Sponsorship Receipt Form
download now -
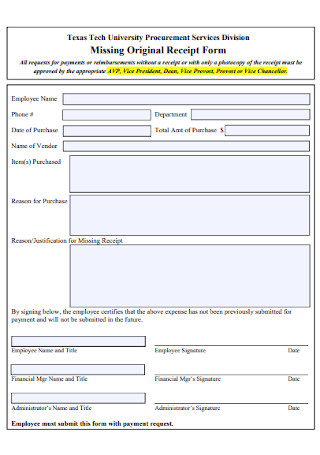
Missing Original Receipt Form
download now -
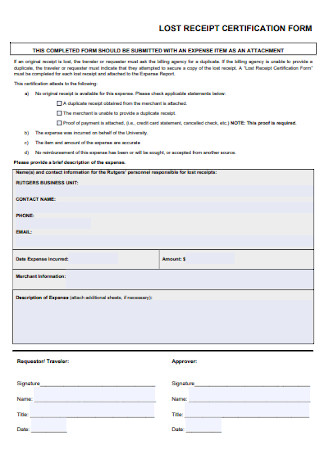
Lost Receipyt Certification Form
download now -

Card Purchase Receipt Form
download now -
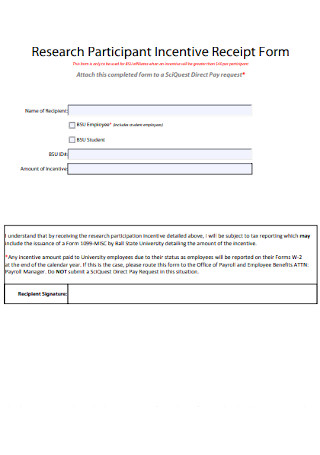
Participant Incentive Receipt Form
download now -
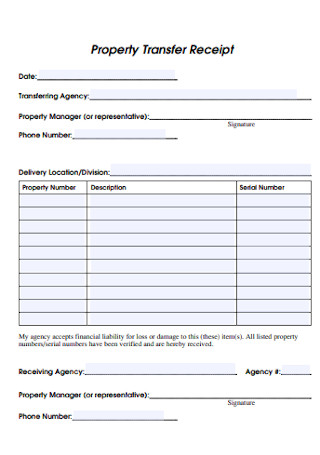
Property Transfer Receipt Form
download now -
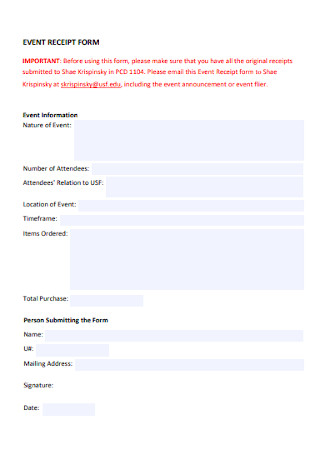
Event Receipt Form
download now -
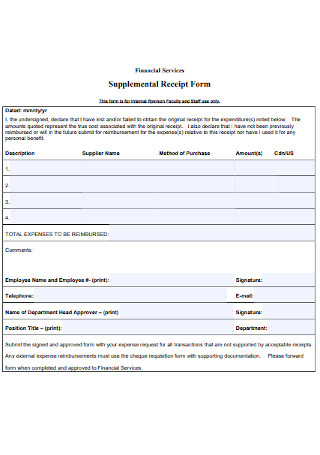
Supplemental Receipt Form
download now -
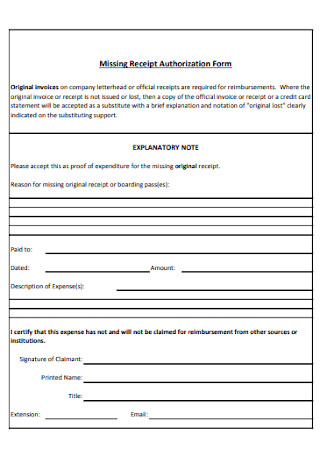
Missing Receipt Authorization Form
download now -
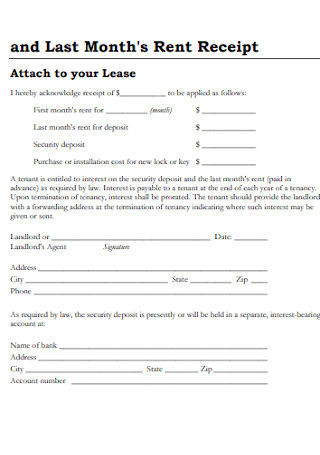
Last Months Rent Receipt Form
download now -
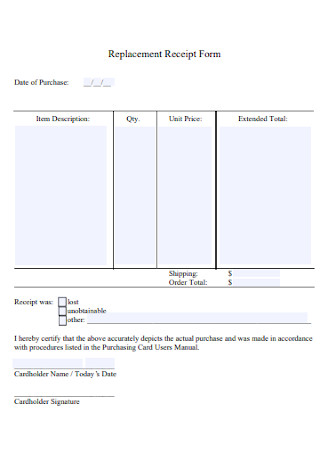
Replacement Receipt Form Example
download now -
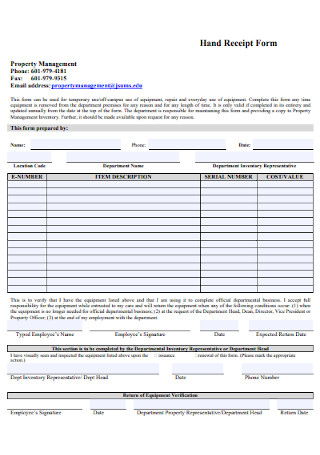
Hand Receipt Form Template
download now -
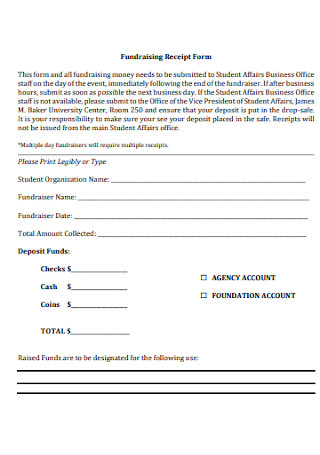
Fundraising Receipt Form
download now -
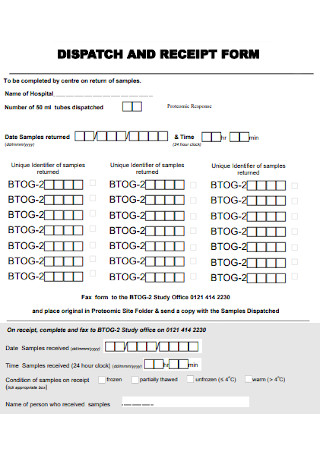
Dispatch and Receipt Form
download now -
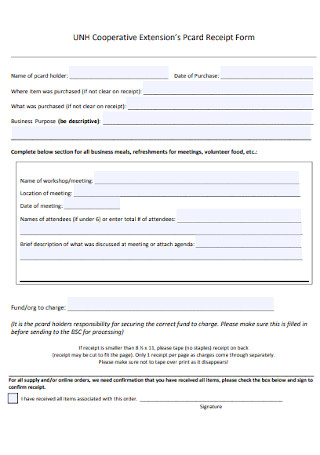
Cooperative Extensions Receipt Form
download now -
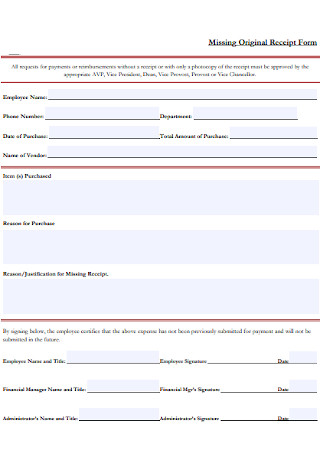
Missing Original Receipt Form
download now -
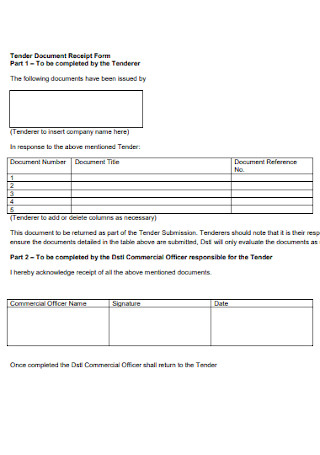
Tender Document Receipt Form
download now -
Student Meal Money Receipt Form
download now -
College of Receipt Form
download now -
Reciept of Goods Form
download now -
Company Receipt Form
download now -
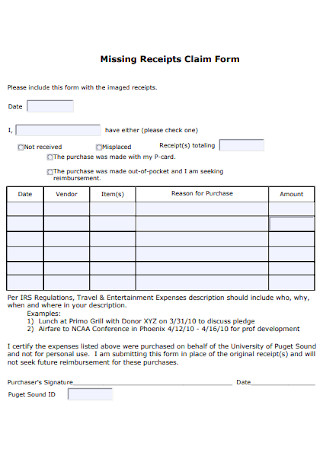
Missing Receipts Claim Form
download now -
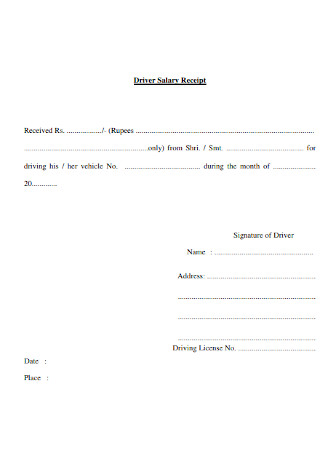
Driver Salary Receipt Form
download now -
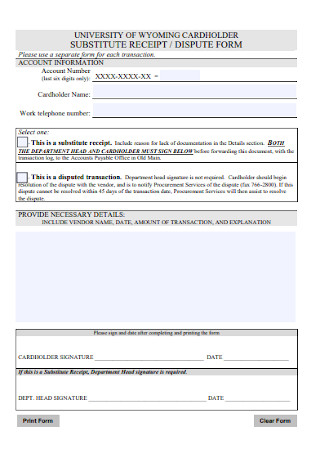
Receipt and Dispute Form
download now -
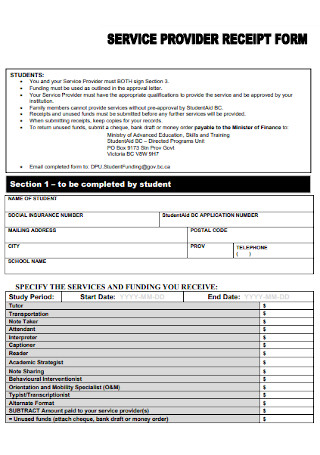
Service Provider Receipt Form
download now -
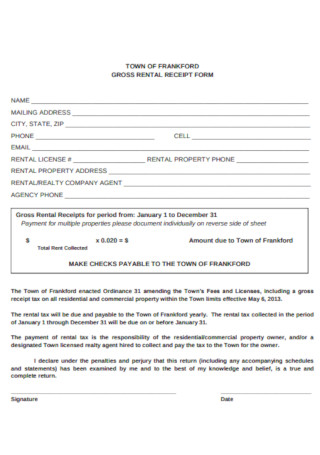
Gross Rental Receipt Form
download now -
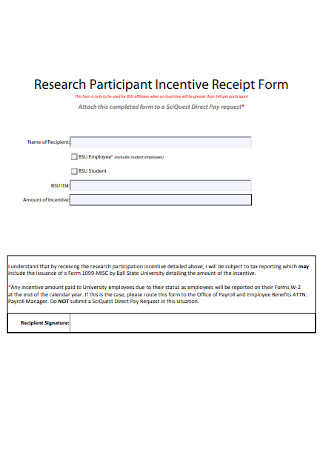
Participant Incentive Receipt Form
download now -
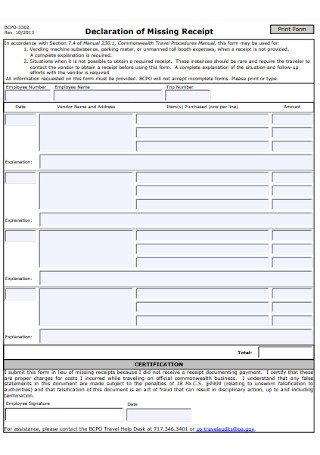
Declaration of Missing Receipt Form
download now -
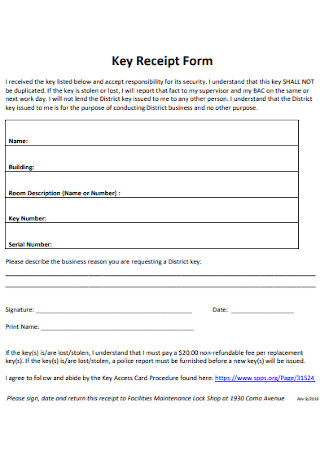
Key Receipt Form
download now -
Custody Receipt Form Template
download now -
Property Transfer Receipt Form
download now -
Acknowledgement of Receipt Form
download now -
Ticket Receipt Form Template
download now -
Paycheck Receipt Form,
download now -
Reimbursement Receipt Form Template
download now
FREE Receipt Form s to Download
50+ Sample Receipt Form Templates
Receipt Forms: What Are They?
The Anatomy of a Basic Receipt Form
How to Create a Valid Receipt Form
FAQs
What is the difference between a receipt and an invoice?
It is bad to not give receipts?
When and how do I send a receipt?
When is a receipt considered valid?
Receipt Forms: What Are They?
If you are a lavish spender, then you would be greatly familiar with that tiny piece of paper you receive after every purchase. And no, we are not referring to your change but actually the receipt. Receipts are written statements acknowledging the completion of specific transactions. And receipt forms hold numerous essential details from the product description, amount received, type of payment, tax details, and so much more.
It is encouraged by the IRS to save receipts for at least three years.
Meanwhile, eMarketer reported that in the US, 68% preferred getting printed copies of receipts in stores, 19% wanted electronic copies, while only 8% favored not getting any receipt at all.
On another note, the Government of New South Wales obliges businesses to give proof of transactions to customers for products and services that cost around $75 dollars and more.
Why Is a Receipt Form Important?
Receipt forms are essential for many reasons. One example is how you refer to these documents for proof, whether you need to review when your amount due is for rent, track your daily expenses, deposit for a donation—you name it. Whatever kind of businesses you are dealing with, receipts should be part of the documentation process. For example, a customer might wish to return or replace an item purchased for a valid reason. Thus, showing a receipt proves the validity to process for a replacement or return. More so, not only customers need receipts because even vendors, small business providers, and fellow business people would require receipt forms as well.
The Anatomy of a Basic Receipt Form
Receipt forms are used in many applications, from cash payments, rentals, donations, and many more. Despite having some key differences in the receipt’s content, there are similar factors to notice in each example too. And this leads us to be reminded about what a standard receipt contains. Without further ado, take a look at the anatomy of a general receipt form.
How to Create a Valid Receipt Form
Clearly, you know by now that receipt forms are more than just sheets of paper. They are both beneficial and important. Now, let us head on to creating the receipt itself. Are you ready to make receipt forms? The procedure is not that complex since we will guide you in just six easy steps. And you only have to observe the following:
Step 1: Recognize the Receipt’s Purpose
What is your receipt for? You already know that a receipt works for many functions. But you have to specify if that is used for a car rental, hotel room, bank deposit, and more. And once you are sure of the receipt’s purpose, tailor your receipt’s content according to that purpose. So if you are planning to make a receipt for your delivery business, then the receipt should have the details of your delivery enterprise, business logo, etc.
Step 2: Download a Sample Template
The quickest way of creating a receipt form within seconds is to use a sample template. Have you seen our sample receipt form templates above already? Those are your options. And the best part is you can always customize each template. You can make a more personal type of receipt that has your signature designs. Hence, you could change some factors instead of adjusting to a uniform example only.
Step 3: Complete the Elements of a Receipt
Can you still remember the anatomy of a receipt form, as discussed before? Insert those elements in your receipt form. Maybe your receipt hardly contains the significant transaction details and that would make the content incomplete. And you would appreciate receipts that are more detailed to be an effective reference document. Nevertheless, these elements complete the content of your receipt form.
Step 4: Keep a Professional and Well-Designed Format
Mind the format and design of receipt forms. If you are tired of the general professional receipts, you can always go for a more personalized example. Change the font sizes, add more details, use different formats—the rest is up to you. Also, do you prefer sample templates in MS Word format or PDF? Thus, come up with the best embellishments to improve the overall look of your receipt forms.
Step 5: Finalize the Output
Conduct a final evaluation of your template if everything is already looking good. Review thoroughly because there might be misspellings, incomplete content, and many other mistakes that need to be changed. Also, what will be the form’s size? And do you want the final output of the receipt to be in printed form or just a soft copy? Bear in mind that according to a US survey, 68% of people considered getting printed copies of receipts in stores, 19% wanted soft copies, while only 8% preferred not getting any receipt at all.
Step 6: Keep Extra Copies
Most importantly, keep additional copies of every receipt to produce. You never know when such copies might be needed. An example is when a customer loses his or her copy of the receipt. Hence, you could back them up with extra copies on hand. You can always get rid of those copies at least after three years though. Or perhaps, you recommend a physical scanner or a mobile app scanner to read and trace receipt forms.
FAQs
What is the difference between a receipt and an invoice?
A receipt and an invoice are often interchanged by some people as they are quite similar. But they are also different in terms of when they are issued. Hence, the big difference is that invoice is issued in demanding a certain payment, whereas a receipt is issued when payment is already made.
It is bad to not give receipts?
According to NSW Government, businesses are obliged in giving proof of transactions to customers for products and services that cost around $75 dollars or more. Also, businesses can provide receipts of transactions under $75 around seven days when a customer asks for it.
When and how do I send a receipt?
Receipts must be given in all transactions of goods and services purchased from your enterprise. You could print that receipt and give it right after a customer’s purchase. Or perhaps, email that receipt as a soft copy to your clients.
When is a receipt considered valid?
Valid receipts contain the following information: (1) the purchase date, (2) the name and details of the supplier, and (3) the product or service descriptions with the prices and quantities.
Who knew a small business document such as a receipt form can answer your accounting-related queries, check transaction details, or even prove specific claims? Hence, customers should always ask for a receipt while sellers should provide such forms as well in every transaction. Besides, you need not begin from scratch when it comes to receipts. We have plenty of sample receipt form templates for you to use. Download now!