32+ Sample Trails Checklist Templates
-
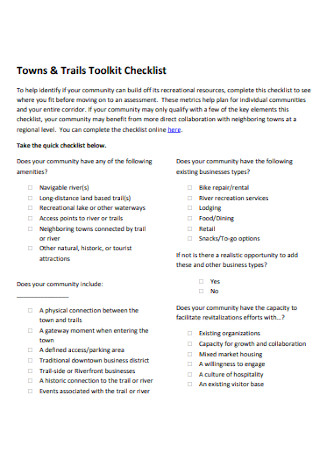
Trails Toolkit Checklist
download now -
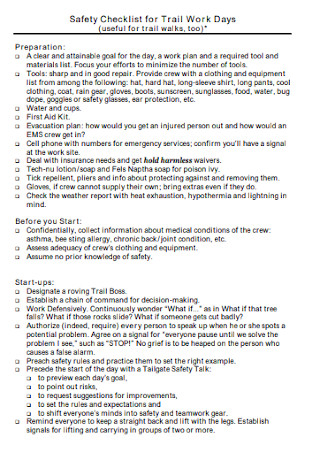
Safety Checklist for Trail Work Days
download now -
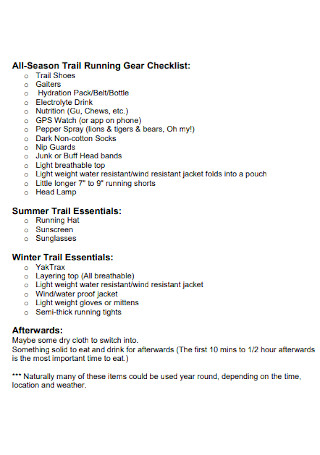
Trail Running Gear Checklist
download now -
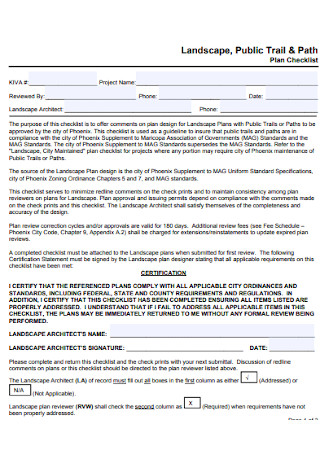
Trail Plan Checklist
download now -
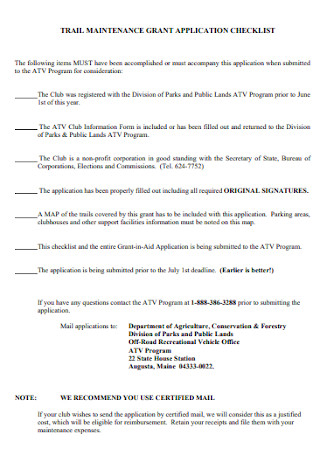
Trail Maintenance Checklist
download now -
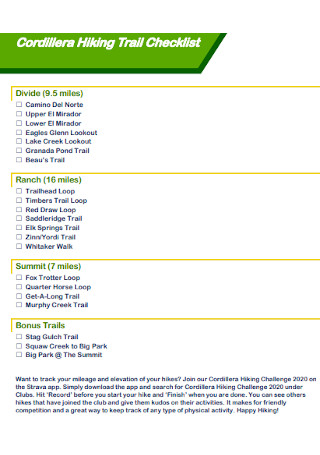
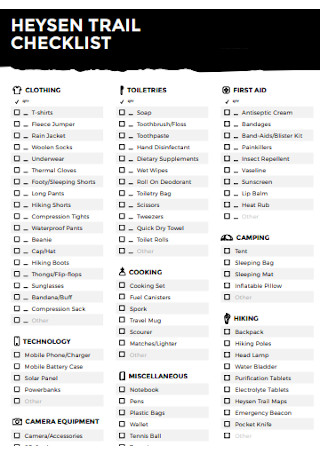
Hiking Trail Checklist
download now -
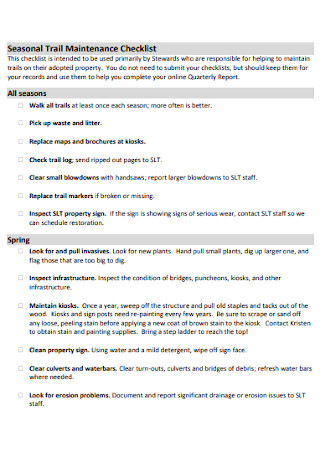
Seasonal Trail Maintenance Checklist
download now -
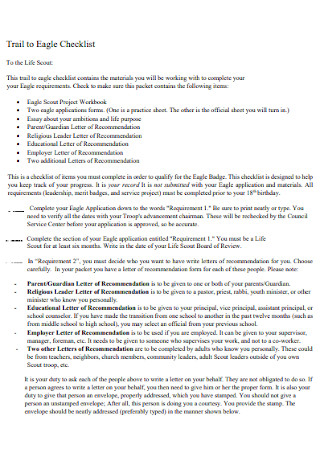
Trail to Eagle Checklist
download now -

Checklist for Starting a Trail
download now -
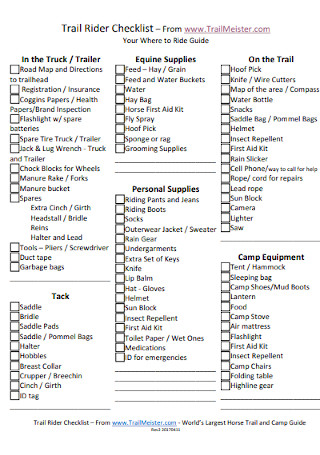
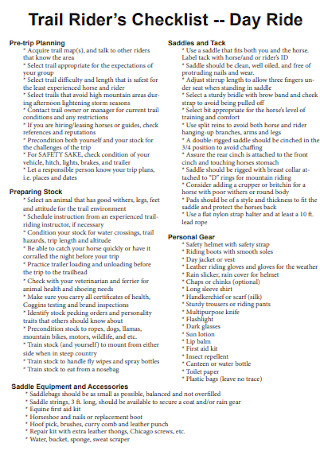
Trail Rider Checklist
download now -
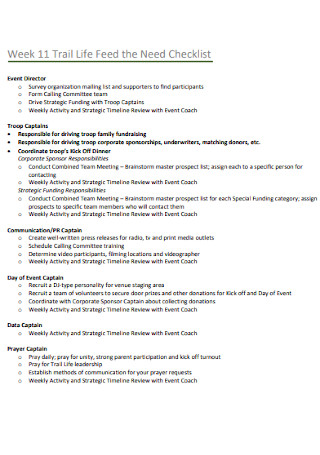
Trail Life Feed Checklist
download now -
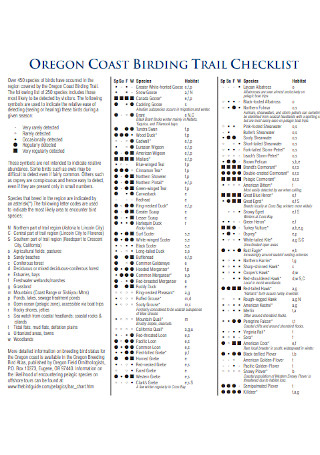
Coast Briding Trail Checklist
download now -
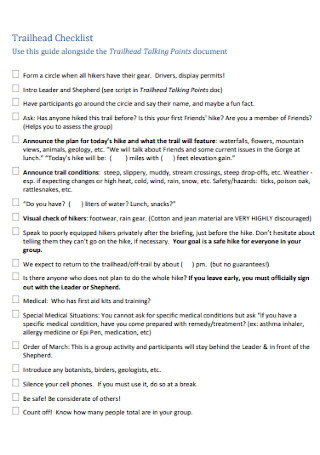
Trailhead Checklist Example
download now -
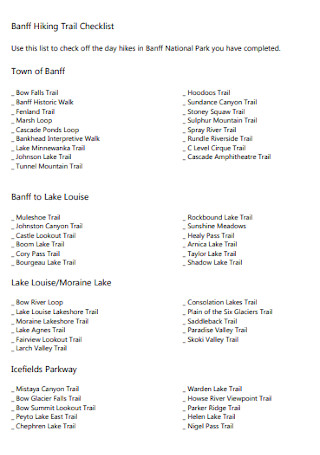
Banff Hiking Trail Checklist
download now -
Trail Rider Checklist Template
download now -
Trail Rider Checklist Template
download now -
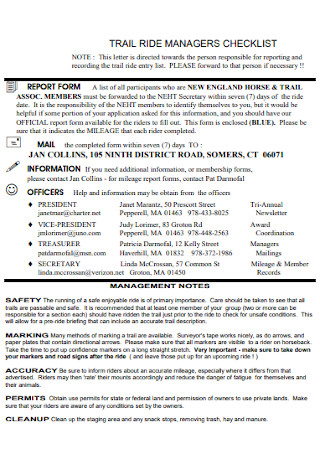
Trail Ride Manager Checklist
download now -
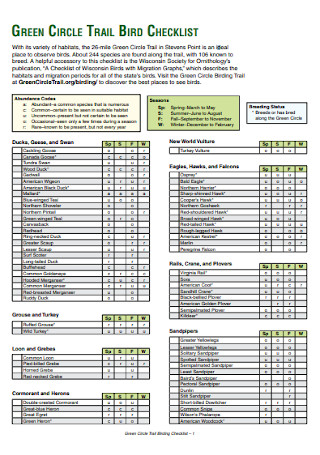
Circle Trail Bird Checklist
download now -
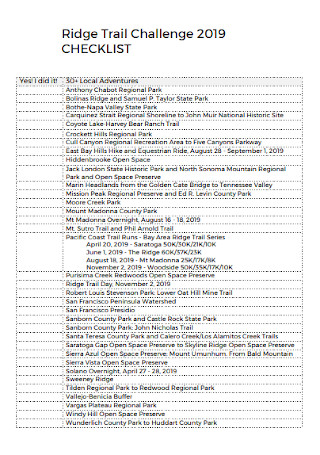
Ridge Trail Challenge Checklist
download now -
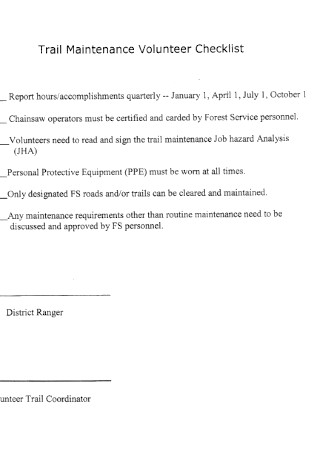
Trail Maintenance Volunteer Checklist
download now -
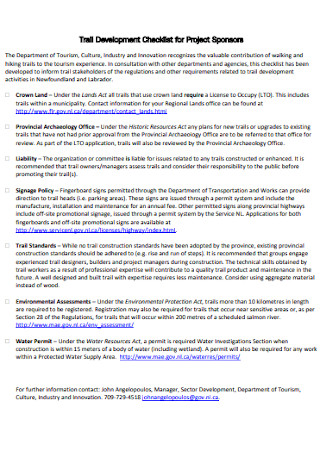
Trail Checklist for Project Spongers
download now -
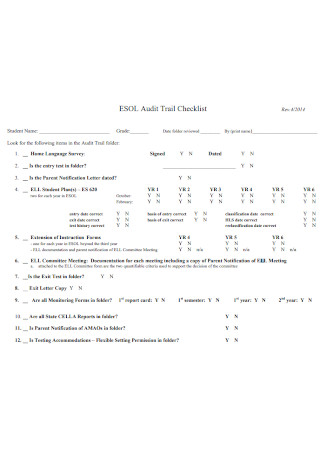
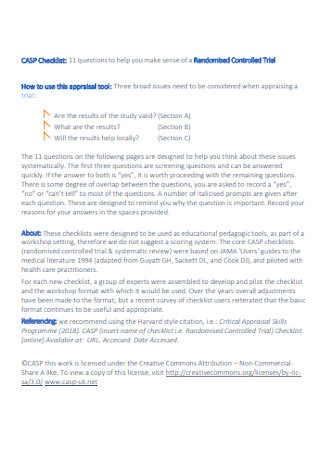
Audit Trail Checklist
download now -
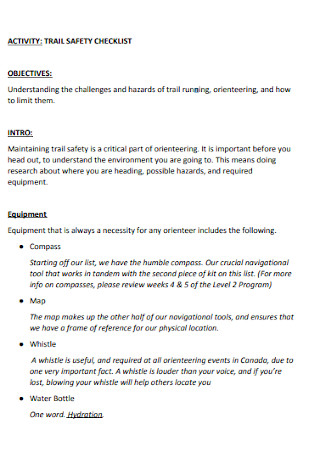
Trail Safety Checklist Template
download now -
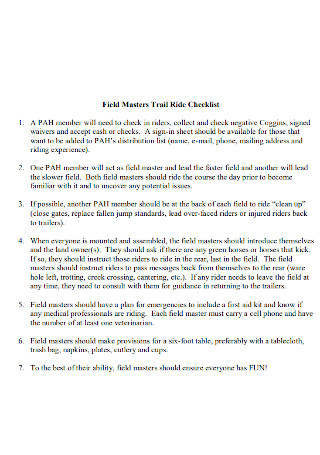
Field Masters Trail Ride Checklist
download now -
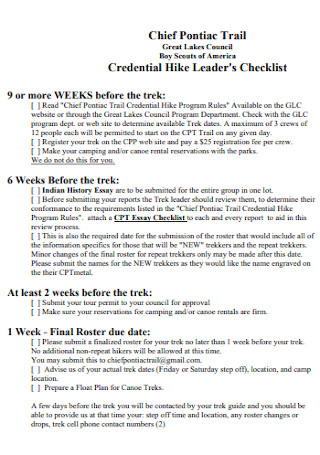
Credential Trail Checklist
download now -
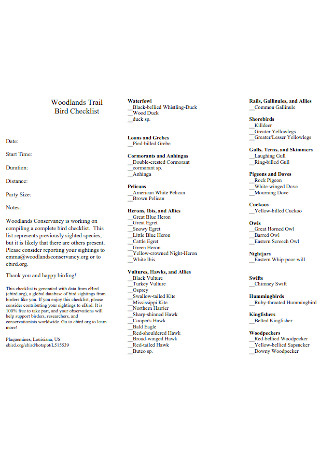
Sample Trail Bird Checklist Template
download now -
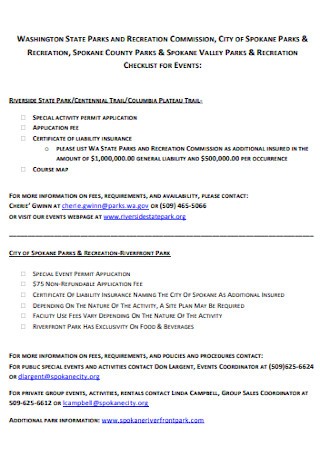
Event Trail Checklist
download now -
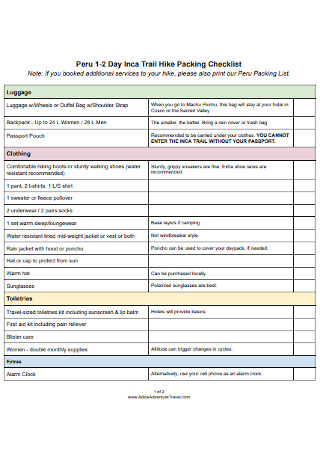
Trail Hike Packing Checklist
download now -
Trail Checklist Format
download now -
Basic Trail Checklist Template
download now -
Formal Trail Checklist Template
download now -
Standard Trails Checklist Template
download now -

Audit and Control Checklist
download now
FREE Trails Checklist s to Download
32+ Sample Trails Checklist Templates
What Is a Trails Checklist?
What Should Be Inside the Trails Checklist?
Hiking Trail Must-Haves: What’s in Your Bag?
How to Create Your Trails Checklist
FAQs
What should you not bring in a hike?
How long is a five-mile hike?
What outfit is appropriate for hiking?
What Is a Trails Checklist?
As a review, hiking trails are those footpaths in forests, mountains, and similar environments meant for long walks. Meanwhile, a checklist is a job aid list to remind you about any task to complete and prevent forgetting such tasks. Combine both terms, and you form the trails checklist—which is a detailed to-do list or guide on what to bring and establish in trails. Hiking beginners can depend a lot on the list to survive from the packing process down to the last trek.
The Outdoor Recreation Resources Review Commission’s research survey reported that walking for pleasure is the second most favorite recreational activity of Americans; driving for pleasure ranked as the first favorite.
According to the American Hiking Society, the US achieved around one million hours for trail maintenance within 1965–2015.
Also, Statista confirmed that there were about 47.86 million American hikers in 2018.
Why Go for Trails?
As a 2018 survey confirmed that there were around 47.86 million hikers in the US, you might ask why such citizens go for trails. First, trails are a way to appreciate nature upon seeing the beauty of natural landscapes and scenic parks. Take this as your chance to disconnect from work, social media, and the urban lifestyle since you only take walks in footpaths. Also, exerting physical effort is good for health. The American Heart Association even stated that brisk walking helps lessen the risk of diabetes, high blood pressure, and cholesterol.
Furthermore, did you know that trails are good for tourism and the economy? Imagine the many jobs that benefit here from trail guides, trekking gear sales, bike rentals, lodging—you name it. The Outdoor Industry Association even stated that the total amount spent on outdoor recreation in the US reached $646 billion in 2012. And it supported approximately 6.1 million jobs to boot. Lastly, trails paved the way for remembering historical or cultural heritage. Go and check out the many national historic trails to remember.
Why Is a Trails Checklist Important?
Now think about adding a checklist to your trails expedition. Why is the checklist necessary? Simple—it outlines everything you need to prepare and do for the hike. And seeing a list of everything you need is going to boost your success rate in hiking. Maybe you get too excited for trail running, walking, biking, and any other activity, but you don’t have the gears when you finally reach the location. That would be tragic. Just like in making weekly plans, travel itinerary, and similar arrangements, preparation is key. Hence, allow checklists to guide you in preparing for trails and accomplish your objectives.
What Should Be Inside the Trails Checklist?
Every hiker has a different approach and objective when it comes to exploring the trails. But there are common factors to find from what hikers do too. And you can incorporate some smart tips to put in your checklist that have been done by many hikers. And here we outlined a list for you of what should be inside your next trails checklist:
Hiking Trail Must-Haves: What’s in Your Bag?
You learned from the checklist to “bring the essentials.” But what exactly are these essentials listed in your document? Remember that food is just one example because there are plenty of important things to bring for hiking trails. Indeed, packing light is vital in taking long walks, but maybe you lack the items that would have helped you there. Here are examples of what you must have during trails:
How to Create Your Trails Checklist
Now for the main dish, how do you know if your trails checklist is good enough? Don’t worry because it isn’t that difficult when you follow these easy steps on how to create your trails checklist:
Step 1: Draft a Plan
Don’t make a checklist without a detailed plan yet. Planning is your go-to draft about what your trails checklist will contain. First, where do you plan on hiking? Will it be at the Grand Canyon or Skyline Regional Park? Wherever it is, jot it down. And what activities do you plan on doing? Note if you wish to bike, scavenger hunt, or any other activity. And of course, what to bring and what your checklist should contain is necessary to draft here.
Step 2: Group the Content
After drafting, pick what should be included or absent in your trails checklist. Next, transfer what you selected to the template of your choice. Do it one by one until you group those details afterward. And remember those inclusions and must-haves mentioned earlier? Those are your clues on how to divide the content. Grouping is necessary to keep an organized list. An example is when you divide the stuff to bring. Have one set labeled under “Food and Water,” another for “Navigators,” and continue the rest.
Step 3: Observe Clear Format
A checklist does not function as such without checkboxes and lines to put your checkmarks. So ensure that your list is formatted to look like a checklist. To do that, tweak your template if it goes according to your preference already. A tip is to give uniform spacing between the checkboxes and their descriptors or content. Thus, it is clear which descriptor each checkbox is referring to. And if you want to use graphic organizers, then do so. There are charts, tables, and plenty of visuals you can use to design too.
Step 4: Be Concise
A very long checklist is still pointless if the details are not concise enough. Keep in mind that the list is supposed to be a job aid, meaning it should make your tasks easier. Be direct to the point instead. Wordy sentences only consume a lot of space, and those may confuse you if the long sentences are making things more complicated than usual. Therefore, you review everything if it is concise enough and keep the checklist if you’re done.
FAQs
What should you not bring in a hike?
What to bring depends on you. But if you need help on what to prevent bringing for inspection, it would be best not to bring expensive jewelry and valuables, numbers of clothes, and other bulky and heavy items that will only hinder your journey.
How long is a five-mile hike?
If you need to indicate how long or how far your hike is in your list, then do estimations. Take a five-mile hike, for example. It often takes around three hours and 23 minutes. And taking many breaks will surely make it longer. So if you need other tips about estimations, ask from the trail guides.
What outfit is appropriate for hiking?
Avoid cotton as much as possible since it is recommended to wear breathable wicking materials. Thus, sweating excessively least likely happens. Also, you benefit from clothes with light colors since dark clothes often absorb heat. And for your footwear, using sneakers and hiking sandals are alright for short treks. But longer trails are much better with hiking boots.
Many people were inspired by Barry Finlay’s famous quote, “Every mountain top is within reach if you just keep climbing.” But don’t take it literally and rigidly. Even when you are inspired to hike, reaching that mountain top might only remain a dream if you are unprepared. A smart person would plan not only to increase the hiking success rate but also to improve safety. Regardless, everyone, especially beginners, must create a trails checklist as a standard before walking for pleasure.